-
For Resellers
-
-
For Clients
-
-
WHMCS Integration
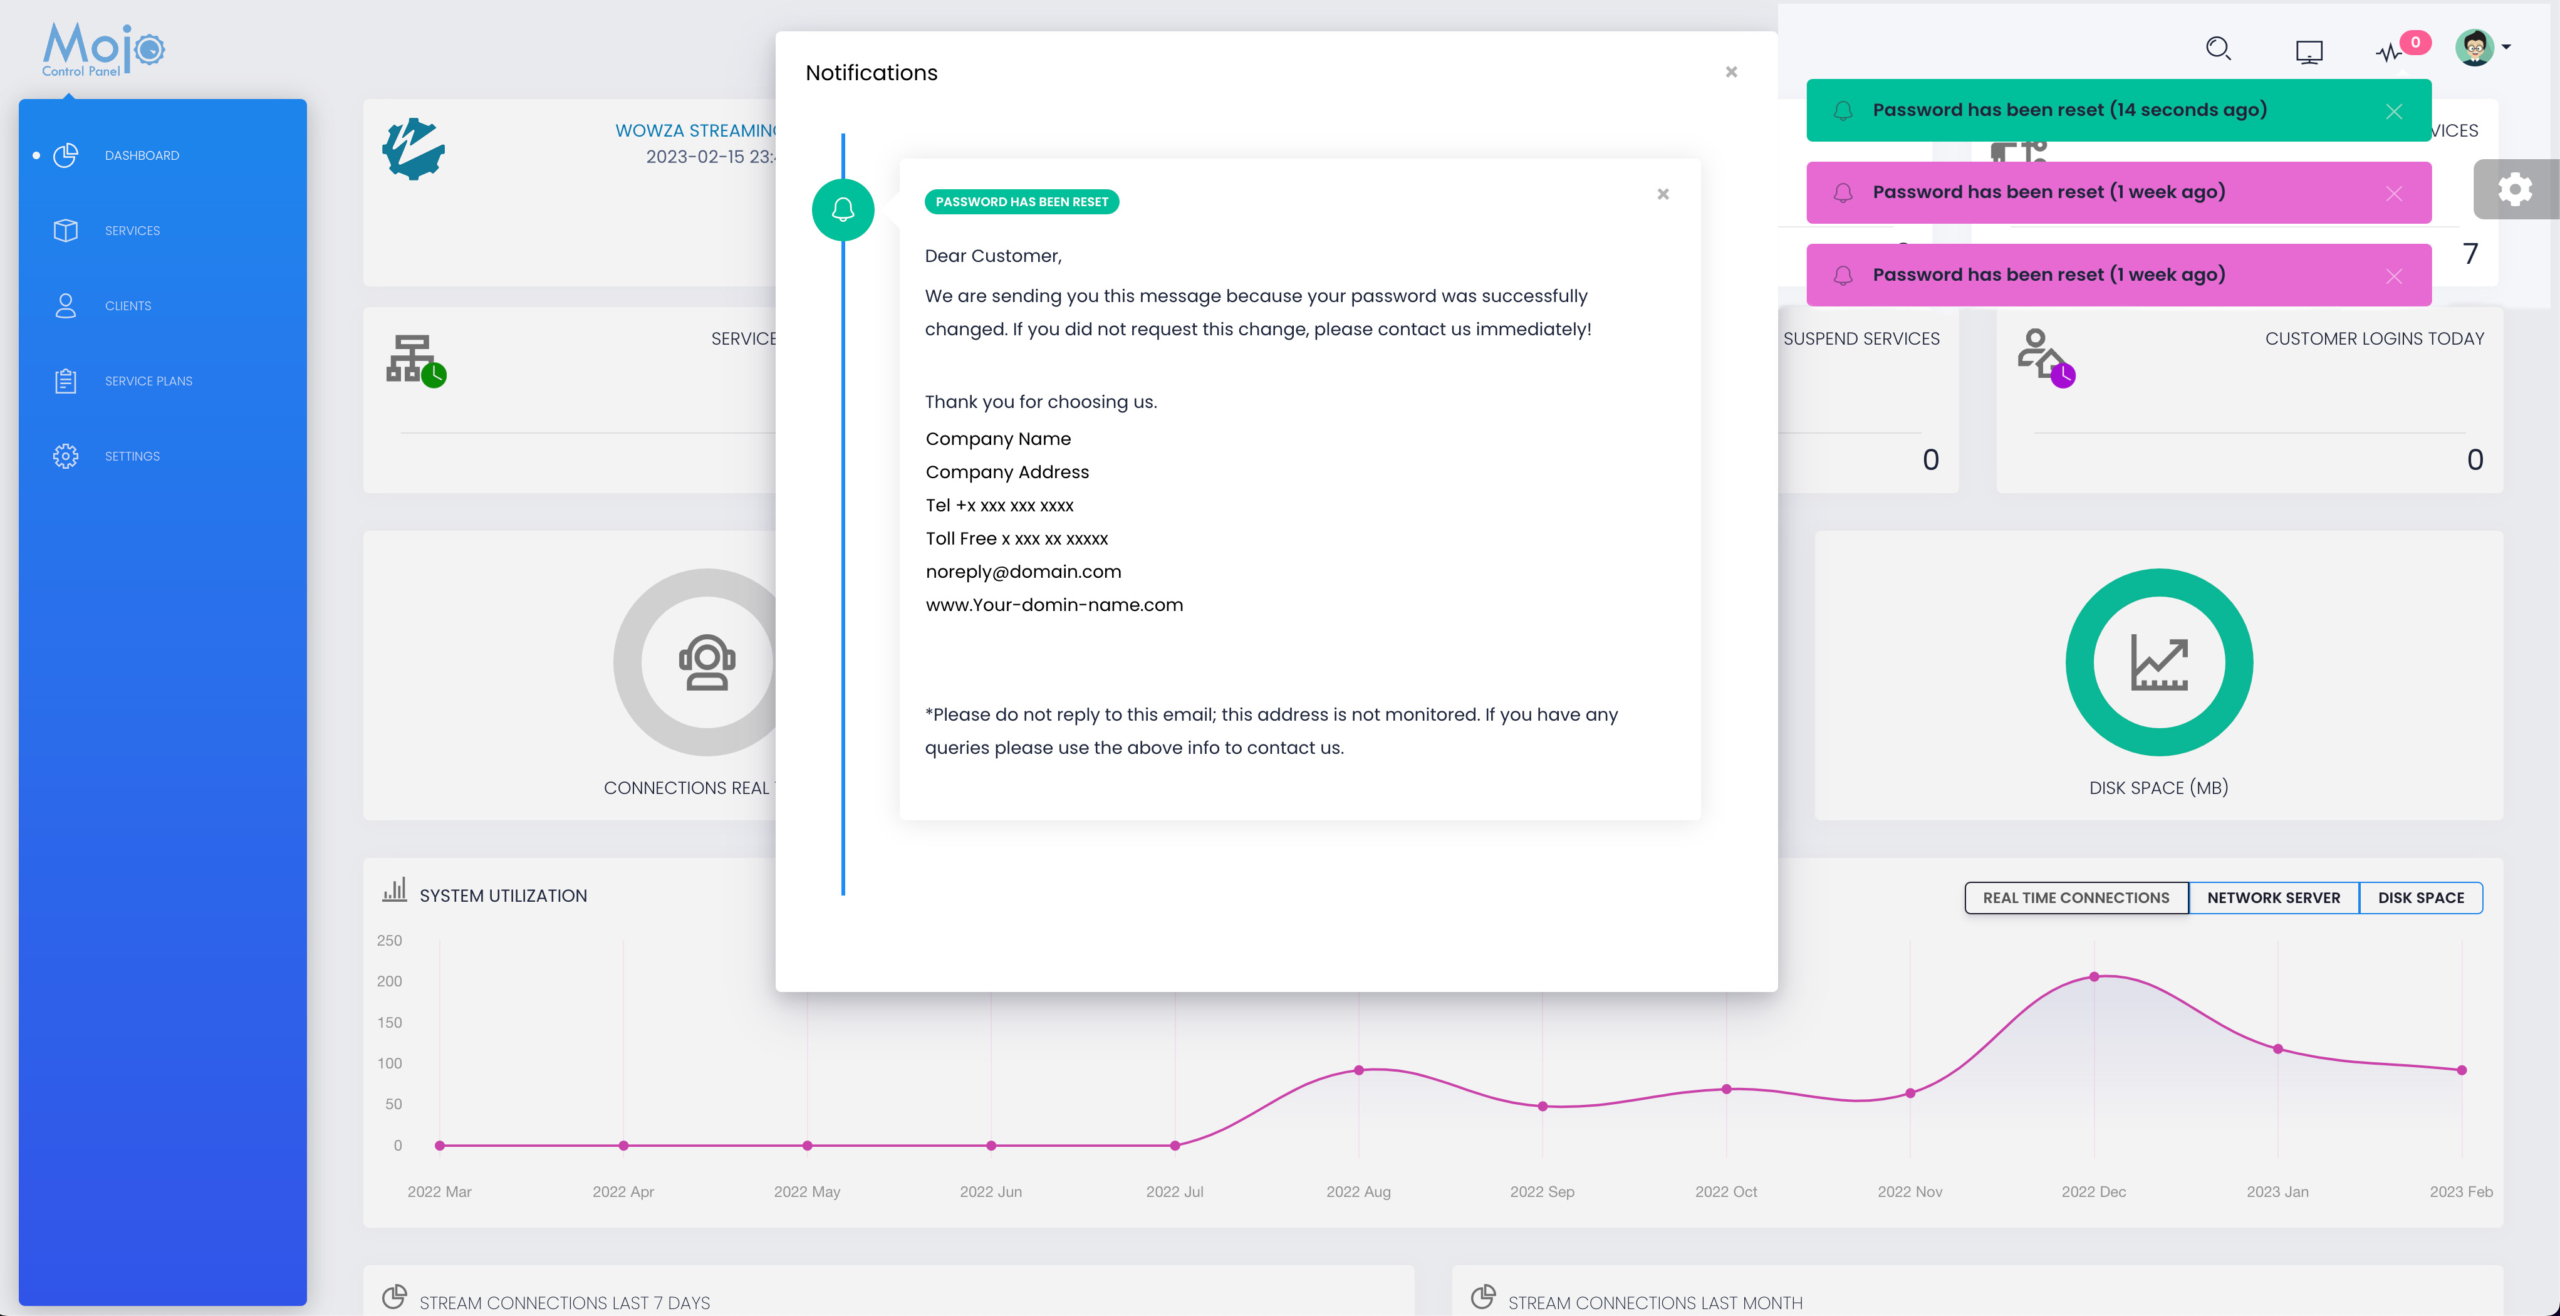
Notification Message
MojoCP provides a client notification feature that sends automated email messages to clients when certain actions occur within their accounts. This feature keeps clients informed of important account events and actions that may affect their services.
For example, if a client resets their password, an email notification with the message “Your password has been reset” will be sent to the client. In addition to email notifications, clients will also receive notifications in the control panel when certain events occur, such as exceeding their bitrate or disk quota limit, or when their data transfer usage approaches or exceeds the limit.
As a reseller, you may also receive notifications when certain events occur with your clients, such as when a client resets their password or when there are any issues with their streaming services. These notifications will be displayed at the top of the page next to the user settings, making it easy for you to stay up-to-date with important account events.
Overall, the client notification feature in MojoCP ensures that clients are informed of important events and actions within their accounts, and provides resellers with the tools they need to manage client accounts more effectively.
Resellers can customize these email notifications and choose which actions trigger an automated email message to clients. This allows resellers to provide a personalized experience for their clients and ensure that they receive only the most relevant information.
By leveraging the client notification feature within MojoCP, resellers can provide a better customer experience and keep their clients informed about important account.
Customize Notification
- Log in to your MojoCP dashboard and click on “Settings” in the navigation menu.
- Select “Email Templates” from the settings page.
- Click on “Add New” to create a new message or email template.
- In the dialog box, enter the details for your email or message notification, including the new template name, your company email, subject message, and choose the notification color.
- Pick the date and time when the notifications will be sent using the “Schedule Date and Time” option.
- Once you have filled in all the necessary details, click on “Save Changes” to save the new template.
Your custom email template is now created and scheduled to be sent at the specified date and time. By following these simple steps, you can stay connected with your clients and keep them informed about important events and actions on their account.